This is the post for you if you've ever wanted to know how to update your roof. We'll go over the preliminary steps necessary to begin working on your roof and offer advice for getting the project done.
Roof Renovation: A Comprehensive Guide
Simple tasks like freshening up house interior or cleaning up the garden may be the first things that come to mind when you thinking of house remodelling.
But, more serious issues can occur, especially when you've been a homeowners for any length of time, you know that roof is among the most strong pain spots in a contemporary home.
So, how can you determine if it is time for just a roof renovation and if you can handle the repair yourself or if you need to call in a professional?
Knowing When To Remodel
Evaluating the roof's condition on your own can be difficult. After all, how then do you recognise the subtle indicators of harm that may be costly down the road if you ignore them?
Unless there is a visible leak in the ceiling above the living room, this problem will most likely worsen with time.
However, there are some checks you can make yourself to save money before calling a pro.
First, search for signs of moisture on the ceiling and in the corners. You could also check the attic for any signs of water leakage, rust, or mould growth.
Check the roof for any potential entry points for water and debris, such as holes, cracked roofing, broken tiles, and minor cracks and fissures.
If The Roof Becomes Obsolete:
Damage from the sun and other environmental factors can cause an older roof to fade. In that instance, all the shingles need is a good washing and coat of paint to look like new again.
Water damage can cause shingles to discolour, so be careful. Algae and mould growth are other issues that can occur on older roofs due to water damage.
Depending on environmental factors and upkeep, the typical lifespan can extend over decades. Thus, roof care and repairs are to be anticipated during the course of the roof's lifetime.
If There Is A Water Leak
Further flood damage to your home's interior could result from water dripping from of the ceiling or leaking through the walls. Roofing should be completely replaced if there are perennial leaks or leeks at any season.
If You Have Heating, Ventilation, Or Energy Efficiency Problems
About 35% of a house's heated air will escape via the roof if it is not insulated. The importance of this cannot be overstated if you'd like your houses to be even more amazing in the summer and cosier in the winter.
Solar panels and shingles are two other potential roofing materials to consider. In such scenario, you'll have to perform some roof repairs before you can put it in place.
If You Wish To Obtain A Decent Deal On A Home,
Think about getting a new roof before you put your house up for sale. When selling a home, a brand-new roof can add a lot of value.
Choosing The Best Contractor
Hiring a professional roofer may end up saving you both time and money.
Unless you just need to fix a small leak or replace a few tiles, you should choose a professional roofing contractor because of the complexity and height of the stakes involved in a roof makeover.
Constant and facilities offered with your contractor is key for a rapid and pain-free process, therefore it's important to start working with them right away.
It would be helpful if you told the contractor about your plans and ideas in plenty of time for them to develop a comprehensive strategy and collect all of the resources they'll need.
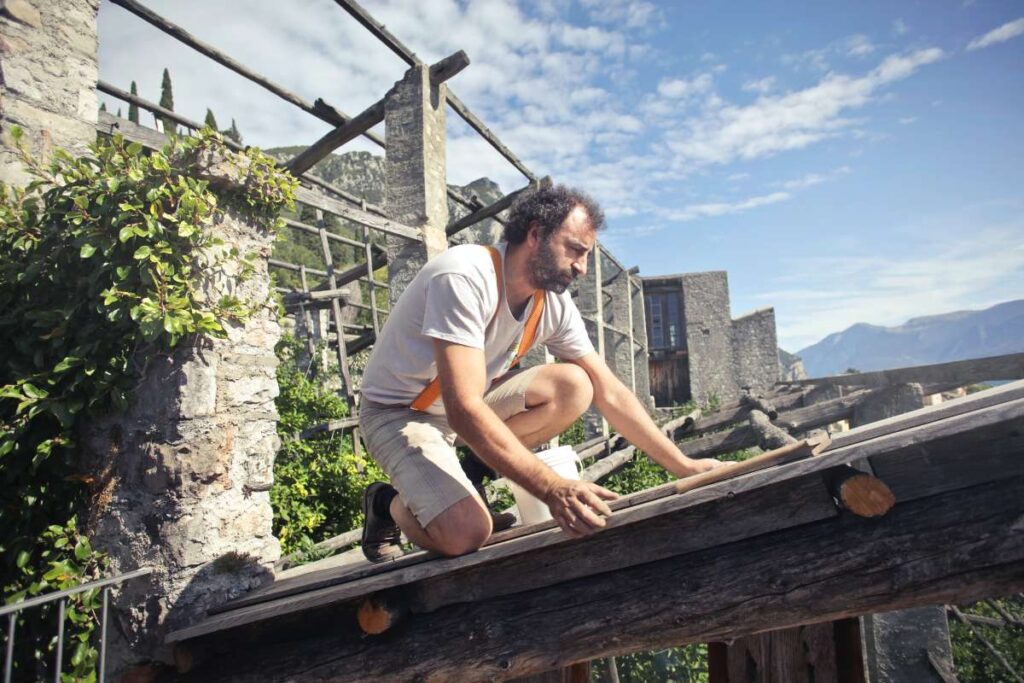
You Can Do It Yourself
This doesn't mean you can't fix small things on your own, but it does mean you need to know what you're doing, have the right tools on hand, and always follow proper safety procedures.
First, you shouldn't try to improvise a ladder if you're working on a high-up project; instead, you should hire transportable scaffolding for maximum safety and flexibility.
Also, don't forget the hard hat, harness, gloves, and protective padding for your elbows and knees.
You'll need a tarp, roof nails, sealer, a utility knife, as well as the proper material again for new shingles, among other things, depending on the specifics of the project.
Selecting The Best Materials
Another important stage is picking the right material for the job. The materials you choose for your roof will have an important practical purpose that must be considered alongside the aesthetic considerations.
You should check the local building regulations before shelling out cash for the most attractive shingle available.
You can choose from asphalt-composition shingles, wood shingles, roofing, concrete tiles, synthetic slate, or natural slate.
Because each option has its own set of pros and cons, it's important to discuss your options with a professional contractor to determine which one is right for you.
In terms of available resources, you can-
Roofing Shingles
Are the most widely available sorts of materials. You should expect to pay between $70 and $120 per square foot, which is a fair price. Typically, people might expect to live between 15 and 20 years.
Wood shingles offer a more costly and unique alternative to asphalt shingles. Depending on the size of your roof, wood shingles might cost anywhere from $100 to $150 per square. They are also more long-lasting, with a possible 30-year lifespan.
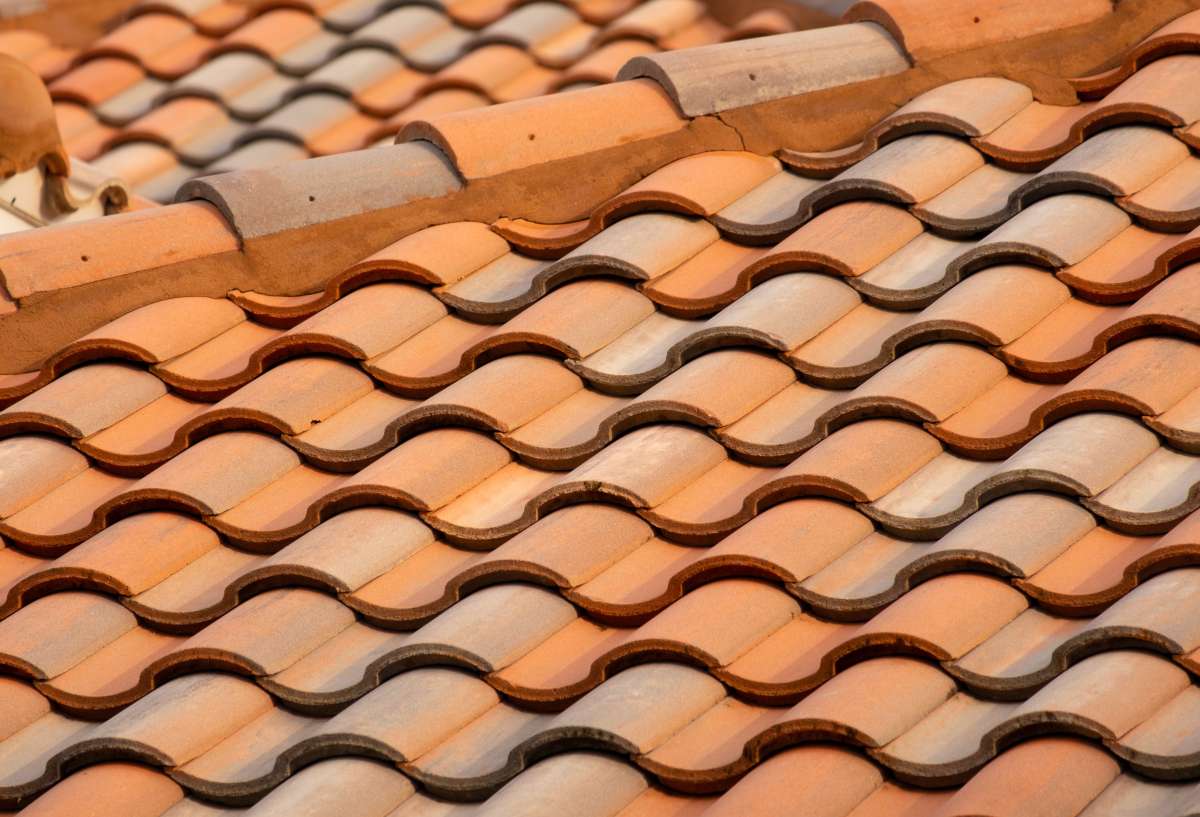
Tiles
Concrete or clay can be used to make tiles. They provide a selection of textures to improve visual appeal. However, these supplies are substantial, so installation is best left to experts. It may cost $300-$500 per square foot, but it will last for at least 35 years.
Metal Roofs
An superb option for withstanding severe climates. Aluminum and stainless steel versions are available. Despite its high initial investment (about $600 per square), metal roofing has a long lifespan (over 50 years). They can be dented easily but require no upkeep.
Slate Roofs
Slates have the same qualities of being dense and long-lasting. They have a natural resistance to fire and water and provide a charming, aged appearance. They typically endure between 50 and 70 years and can cost anywhere from $600 per square foot. Composite materials can be used as an alternative to slates.
They cost $300 per square and are extremely lightweight considering their 25-year lifespan from recycled materials.
Planning For A Protracted Project
Plan on spending anything from a day to a few weeks on a roof renovation, depending on the experience of the workers.
Expect to spend more money if you're doing the renovation on your own and don't have any experience doing so.
Hiring a professional, on the opposite hand, can have the job done in a short amount of time. The most important processes are removing the old shingles, mending the roof wood, setting up the flashing, laying down the insulation, and then setting up the new shingles.
Unlike other types of home improvement projects, roofing renovation should not be rushed. It is wise and cost-effective to hire a professional to handle any big repairs unless you have extensive knowledge in the subject.
What You Should Know About Roof Renovation
The Farmers Home Improvement Series welcomes you. These articles cover a wide range of topics, from bathrooms to roofing, and offer advice to help you organise your renovation, communicate effectively with your contractor, and maximise your investment.
A roof restoration is sometimes overlooked in favour of more flashy home improvements like a kitchen renovation or sunroom, but it can be the difference between such a beautiful, secure house and a shabby, leaking one. After all, you have a roof above your head to keep out the rain and snow. If the top isn't solid and safe, the rest of your renovations (and maybe the house itself) could be in jeopardy.
Where Do You Begin?
In order to save time and money and still have the roof you desire, you must understand:
Do You Need A Roof Replacement?
There's a good chance you haven't thought about getting a new roof unless you have a constant supply of buckets in your living room for catching leaks or you overhear your neighbours complaining about your old roof.
But, waiting until the leaks get worse can be an expensive mistake that leads to other, more significant issues. On the reverse hand, if you replace or fix your roof before it completely fails, you'll save yourself a lot of trouble down the road.
A new roof may do more than just keep the rain out; it can also update the aesthetic of your home, make it more energy efficient, boost its resale value, and even reduce your homeowner's insurance premiums.
Most people, though, need help. Finding a reliable roofer and contractor to work with is essential whether you are planning to replace or renovate your roof, or are considering doing so now that you have found this article.
How Do You Locate A Roofer/Contractor?
The choice of a contractor and roofer is crucial. A roof replacement may seem like a project some homeowners would like to take on themselves, but it's usually best left to the professionals.
Finding a reliable local contractor or roofer ahead of time will simplify the process and increase the likelihood that the work will be completed successfully.
That way, you'll be able to start working together right away. In order to find a reliable roofer or contractor, you can:
- If you know somebody who has recently had a roof redone, ask them for advice.
- Visit a lumberyard and hardware store and enquire about reliable roofing companies in the area.
- Try some web searching.
- A National Association of a Remodeling Industry will provide you with a list of licenced roofers and contractors in your area.
Will Small Repairs suffice?
Is a new roof absolutely necessary, or will maintenance and upkeep do the trick?
The truth is that you probably don't recall this information immediately. Your contractor or roofer can help you with that. They are able to climb on top to help you inspect the roof.
But even before you have sent any and everyone up a ladder, consider these factors carefully.
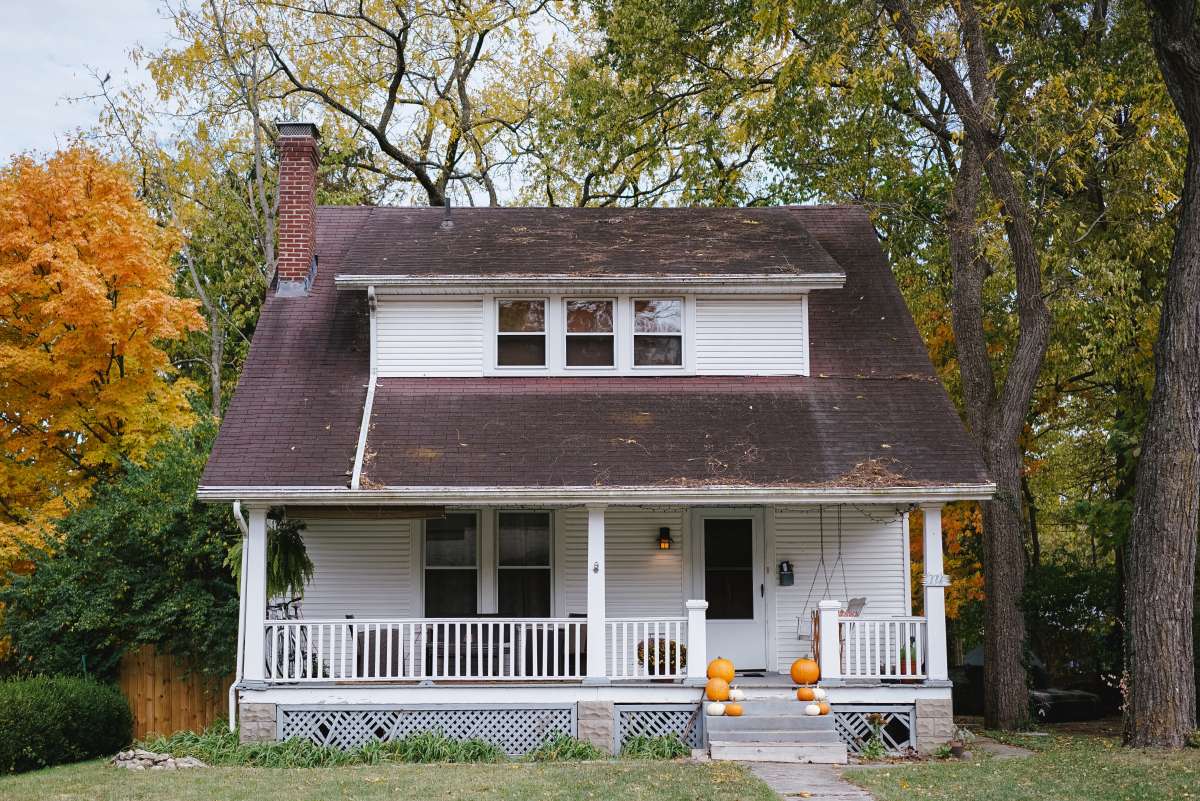
- What's the age of your roof? Roof cleaning may be all that's needed for older, unclean, or discoloured roofs. The discoloration, however, may be a symptom of water damage and the need for repairs.
- Is there a constant drip in your roof? If you have a leaky ceiling no matter the season, it may be time to get a new roof.
- Do you have problems with the heating and insulation? It may well be time to rebuild your roof and enhance your insulation if you have trouble heating your home or noticing air leaks.
If you and your contractor have agreed that it is time to replace your roof, you should start considering your options.
What Material Is Best For You?
After hiring a contractor, selecting roofing materials is the next most crucial step in a roof replacement.
Your roof's cost and appearance will be largely determined by the materials you choose.
Keep in mind that your options may be constrained by factors such as local building codes, design preferences, material availability, roof pitch, and your budget.
Get in touch with a reliable roofing expert or contractor first to find out what options are now available and what might work for your roof.
Before making any choices, it could be useful to gain a better understanding of the available resources.
Although asphalt composition shingles are the most commonly utilised and cheapest roofing option, it doesn't mean they're the most aesthetically pleasing. Yet, they are adaptable to a wide range of roof pitches and profiles.
Concrete or clay tiles that overlap each other can be both aesthetically pleasing and functional. Both last a long time, are low-maintenance, and provide excellent insulation by nature.
Wood shingles or shake are a high-quality but pricey option that maintains a lovely, natural look as it ages and can last up to 50 years with regular maintenance. It's possible that things aren't legal in your state.
Metal roofing is a great option since it is long-lasting and can be installed in a variety of attractive, low-upkeep styles. Metal roofing, while beautiful, is difficult to come by, expensive, and possibly dentable.
Slate roofing is made from stone slate, which is naturally fireproof, insulating, and waterproof. Yet, it is quite cumbersome and costly.
Synthetic composition slate, which is lighter than real slate but just as durable, costs less, and is safer to walk on.
How Long Does It Take To Do The Job?
Having the task done quickly and correctly by professionals comes at an additional cost, but it's money well spent.
This lessens the likelihood of having work sit incomplete for weeks at a time. If you need a new roof installed, our professional roofing crew can get the project done in a matter of days. In most cases, this entails
- Taking off the current roof covering.
- Wooden roofs can be fixed or replaced.
- Putting flashing in place.
- Putting in a moisture barrier and insulation.
- Putting on new shakes or shingles for a roof.
There are a lot of variables that will affect how long the operation takes, including the type of material being used, the size of a roof, the availability of resources, and the weather. Before beginning any work, make sure to get a time and cost estimate form your roofer or contractor.
How To Prepare For The Renovation?
Now that you have chosen your materials, all that is needed to begin is a little bit of prep time to prepare the area for work.
This includes clearing away things under the roof. It would help if you removed the attic, so it is safe to work. It would help if you also were careful about the surroundings. Make sure that the surrounding area is well protected from debris.
It is best to use scaffolding but if you use ladders, make sure they are correctly placed.
How Long Does It Take To Complete?
Roofing repairs are difficult for obvious reasons. A skilled roofer will need at least three to five workdays to do the job.
Damage, weather, and customer demand all play a role in this estimation.
The typical procedure is as follows:
The tearing down of current structures Installation of flashing, insulation, and water barriers Roof repairs Putting in brand-new components
Which Season Is Ideal For Roof Renovation?
Let's start with the worst case scenario. That would make sense throughout the cold and wet season. Both snow and rain make it difficult to work on a roof.
Roofing repairs and replacements are best performed in the spring and summer. But, fall is also a good option because it is not too hot, not too cold, and not raining enough to slow down the employees.
FAQS About Roof Renovation
- Remove Old Roofing Materials.
- Make Repairs as Needed.
- Add the Drip Edge.
- Install Water and Ice Barriers.
- Lay the Roofing Paper.
- Protect From Leaks With Flashing.
- Bring in the Shingles or Other Roof Materials.
- Finish With the Ridge Vent.
If you want to transform the entire design of your home, all you need to do is change your roof style from a conventional pitched roof. For instance, if you're looking to add more character to your home, you may want to consider adding a gable roof.
It'll make your home more energy efficient.
Older roofs allow air to flow in and out of your home, which can lead to discomfort and higher utility bills. Replacing your roof will provide your home with better insulation, keeping your home and your finances more comfortable in the long run.
- Regular Checks.
- Spray.
- Clean the Gutters.
- Ice Buildup.
- Proper Ventilation and Insulation.
- Improve the Materials.
- Step 1: Obtain the Proper Permits.
- Step 2: Tear Off the Old Roof.
- Step 3: Make any Necessary Repairs or Reinforcements.
- Step 4: Lay the Underlayment.
- Step 5: Install the Drip Edge.
- Step 6: Install Your Valley Flashing.
- Step 7: Install Your Starter Shingles.