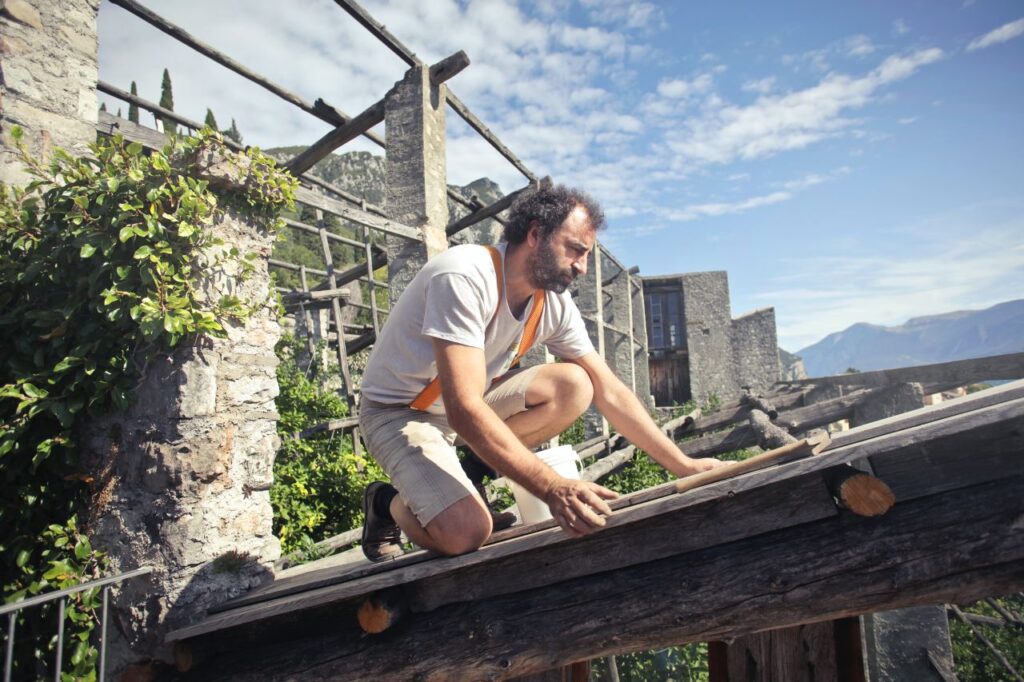
A roof is inherently hazardous due to its height, sloping surface, and lack of protective barriers. Getting on a roof is always a risky proposition. In light of this, it's important to ask yourself some tough questions before deciding to fix your roof. Do you think you'll need professional help or are you capable of repairing this roof yourself? Do you have everything you need at this time? Consider how much cash you could save if you tackled it on your own. Is it really worth taking the chance on?
The answers to these questions are trickier to come up with. The last thing a homeowner should do is climb up on the roof, much less try to fix it themselves. Without proper training and experience, you risk hurting yourself and causing irreparable damage to your roof. If you are reasonably handy, have a keen eye for detail, and carefully adhere to all safety precautions and package directions, you may be able to successfully roof your own home using images from DIY websites. Nonetheless, it's not as easy as they make it sound. In addition, you should not attempt this on your own if your roof has a roof-to-wall transition, dead valley, hips, dormers, pitch changes, chimneys, or any of a number of other special issues requiring flashing.
Small, straightforward, gable homes with few penetrations are relatively uncommon these days, so a handyman armed only with common sense and a hammer might do a decent job on one. The same holds true for maintenance; if you only need to replace a couple of shingles, you might be able to do it yourself. Why am I missing a few shingles, and is there more extensive damage that I can't see? These are questions that need to be asked. Get professional help if you suspect a leak.
T-lock shingles are no longer manufactured, so if you have them you'll need to replace your entire roof. Fortunately, insurance policies typically cover this expense. If the seal between two layers of architectural shingles is broken, additional shingles may blow off during a storm.
Tighter and more power than ever before, modern homes or even remodelled older homes present new challenges. Poor ventilation is a major contributor to roof failure, so it's important to think about. It can lead to roof deck rot, accelerated shingle deterioration, and even indoor mould and mildew growth. The attic could get damp if it isn't well ventilated. Leaks into the attic can cause problems for years without causing any noticeable damage inside the home if chimneys, valleys, or walls are not properly flashed. The roof's structure may already be compromised by the time you notice problems with your ceiling. Walking on your roof can damage the shingles and put you in danger if you don't know what you're doing. Remember that the cost of a day at the hospital is much higher than the cost of a roofer.
If you haven't hired a licenced professional, your insurance company might not cover the whole bill. Roofing is hot, exhausting work, and shingle bundles weigh around 80 pounds each; it would be a shame to go through all that trouble just to save money on insurance.
At the end of the day, I'd say that it is possible to fix or replace your roof, but that it is not something I typically recommend. If you don't take the necessary safety measures, you could end up spending more money fixing your roof or on medical bills than you would have on a professional roofer. Having said that, it's important to take your time when selecting a contractor; don't just hire the first guy who shows up in a pickup truck carrying a hammer. Verify that he is properly credentialed, licenced, and insured to carry out the work. DO NOT believe that you will save money by going with the cheapest option; in most cases, this will turn out to be false.
First, we will address the threat of silence. Having "sea legs," as sailors call it, is an instinct that roofers share. Since they spend so much time up there, roofers instinctively know how to move around on any surface, no matter how slippery it may be. The author has spent a considerable amount of time working on roofs and can attest to this.
Even if you're used to heights from activities like rock climbing or skydiving, navigating a roof is an entirely different animal, which is why most homeowners rarely if ever venture up there. The lesson to be drawn from this is that there is a level of risk associated with being on a roof that is often disregarded. Strong winds can appear out of nowhere, knocking you to the ground and possibly causing you injury if you are carrying an OSB panel or something similar.
DO-IT-YOURSELF ROOFING
Once you've assessed your skills and overcome your apprehension about working from a rooftop, you can turn your attention to the task at hand. Roofing is like making a milkshake in that there aren't that many components and the process itself may seem straightforward, but in order to get the best results, you need to have some experience in the kitchen. In contrast, if you make a bad milkshake, you don't have to drink it, but if you put a bad roof on your house, you'll have to live with it all year long or pay to have it redone.
If you're looking for the most common DIY project, it's painting, while the least common is renovating your kitchen. Roofing must fall roughly in this range. Depending on your level of roofing expertise, it may be more akin to a kitchen renovation or more akin to painting.
SUGGESTIONS FOR THE ROOF
Talk to a roofer if you need a new roof to protect your home from water damage and wind but don't have the money for it. Perhaps you're an advocate of getting your hands dirty. If you're having a professional tiler come in and redo your floors, you might want to tear up the old flooring first. If you want to save money on roofing, discuss tearing off the old roof with your contractor. Some roofers will be grateful to have you do some of this work, as they tend to get a lot of jobs during the summer and can't handle it all.
No matter what kind of roofing material is chosen, it must still be installed by trained professionals. Putting in a new roof on your own is not recommended. You probably don't even need to read this article if you're handy and already know a little bit about roofing. But if you're wondering if you have what it takes to pull this off, the answer is yes.
Muscle and sweat are all that's required to tear off the old roof. It takes a bit more expertise to apply the new roof, and you need to work quickly so that your roof is not exposed to the elements. This, coupled with the inherent dangers of working on a roof, makes the task challenging for those without extensive training in roofing.
DIY (Do It Yourself)
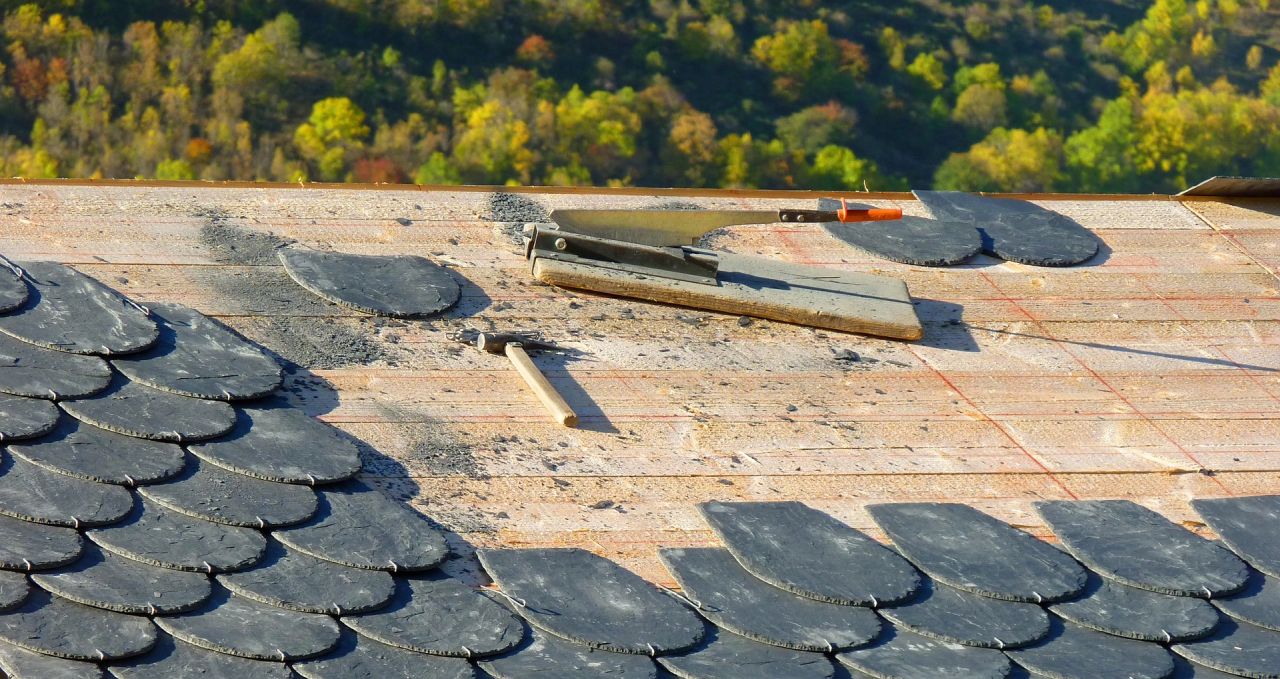
Minor repairs, such as repairing a leak or substituting a few shingles, may be doable without hiring a professional. Repairing broken or missing shingles is as easy as detaching the damaged section, applying roofing cement with a caulking gun, and reattaching the new shingle. But keep in mind that you shouldn't do this unless you're confident in your ability to spend time safely on the roof.
Wear rubber-soled shoes to the roof to avoid slipping, and keep an eye on your progress from the ground. Avoid venturing out onto the roof in inclement weather to check for downed power lines.
Plus, before you get started, make sure you take into account these two factors:
- Warranty. Will attempting a do-it-yourself roof repair void your warranty? Be sure to read the fine print.
- Insurance. Is DIY roof repair covered by your homeowner's policy? If not, you run the risk of having any future damage claims denied and could have trouble getting a mortgage or selling your home.
ADVANTAGES OF HIRING PROFESSIONAL ROOFER
If you need extensive roof work done or will need to spend a lot of time up there for any reason, you should call in a professional roofer. If you reside in a cold climate where freezing temperature can reach, snow, and ice place a burden on your roof, you should have a roofer inspect it on a regular basis to look for damage caused by the elements. Roofing shingles can warp or melt in hot climates. In many cases, only an expert can see the warning signs that a serious issue is brewing. In addition, if there are insulation issues, a roofer may be able to tell you that they are the cause of your home's low energy efficiency.
THE PROBLEM WITH INSTALLING A NEW ROOF YOURSELF
DON'T EXPECT TO SAVE ANY MONEY
Roofing replacement is a costly project. Bathroom renovations and basement finishing projects are two examples of more visible improvements that may appear to be worth the extra cost. It can be difficult to justify spending money on a new roof when it's not something you see every day. You could save some cash by handling it on your own, and this is understandable.
Doing the roofing work yourself, however, will not save you money. When a few shingles are missing or worn, it's one thing to replace them, but when the roof needs to be redone, it's a whole different ballgame. Expert roofers know exactly where to look for issues in the decking of a roof. In addition, they know how to spot problems and advise homeowners on the best, most affordable ways to fix them.
If you attempt to replace your roof on your own and fail to identify any issues, you will end up paying more to have a professional fix the job.
YOU MIGHT LOSE YOUR WARRANTY.
Almost without exception, if a roofing product wasn't installed by a licenced roofing contractor, the manufacturer wouldn't stand behind it. The reason for this is straightforward: if the materials are improperly installed, it will result in expensive damage.
You'll be gambling that your roof goes on without a hitch if you try to put it in yourself. Without a warranty, you won't be able to rest easy knowing that your shingles and other materials are protected, no matter how well you install them. In the future, if maintenance or a replacement becomes necessary, you will have to pay for it yourself. While you might save some money in the short term by attempting to do it yourself, you will almost certainly incur greater expenses in the long run.
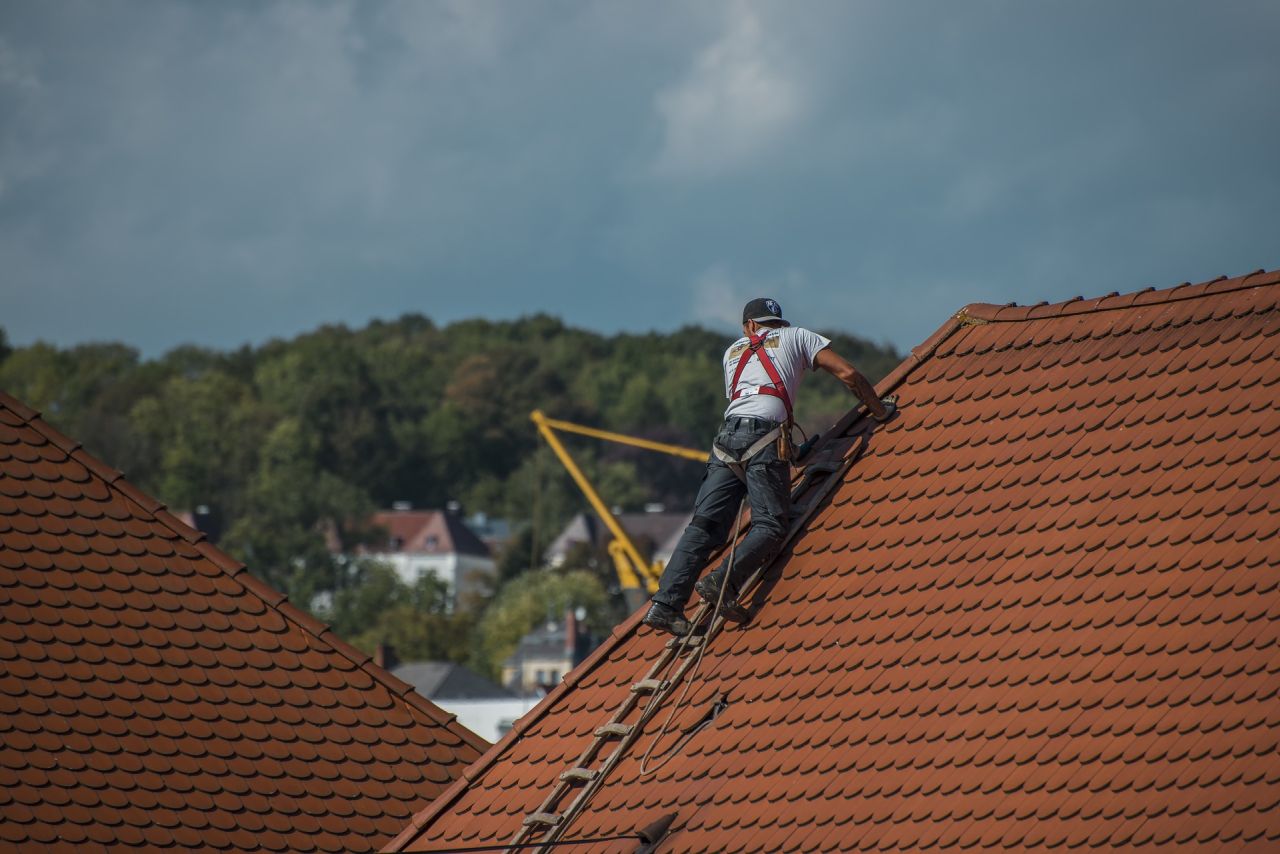
IT'S RISKY.
Putting on a roof may look like child's play, but it's actually quite risky work. Heights, steep slopes, the elements, and mechanical devices are just some of the risks that must be taken into account. Experienced roofers have the gear necessary to do their jobs without risk. DIY tutorials on roofing can be found on YouTube, but keep in mind that these videos typically feature professionals giving advice on basic repair work and simple patching jobs.
Roofing contractors have done the same job numerous times, giving them plenty of opportunities to perfect their technique. As a homeowner, it is likely that you have never had to replace a roof. An expert roofer for homes will have installed or repaired roofs hundreds, if not thousands, of times. They can complete the work more quickly, and the finished product will enhance the aesthetic value of your home.
In addition, the level of damage to your roof may now make it unsafe to walk on. Sagging, leaking, cracks in masonry, and buckled ceilings are all signs of a roof that needs repair. Doors and windows that become stuck suddenly may be an indication that the frame of your home has been compromised due to movement on the roof.
You shouldn't go up on your roof if you have any reason to believe it might be dangerous. It's possible for a damaged roof to cave in, leading to costly repairs inside the house and possible bodily harm to anyone who happens to be walking on it. Ho
THERE IS A RISK THAT A MAJOR ISSUE WILL GO UNDERDETECTED.
After a heavy rain, you may want to try to cover up a stain on your ceiling by patching the leak and painting over it. Simple, right? Though it might improve the way something looks, this approach might not take into account a more fundamental issue.
In the long run, more damage will occur if you try to patch something up without fixing the underlying problem. If water gets inside your house, it will keep wreaking havoc until it is removed. Mold, rot, and eventually structural failure can result from water damage that spreads over time.
The question of whether or not shingling over an existing roof can help homeowners save money arises frequently. Putting new shingles over old ones can give your roof a nice appearance, but it doesn't fix the problems underneath, which is where water damage is most likely to occur. In addition, the warranty from the roofing company is usually nullified if you put new shingles over an existing roof. This is a quick fix with disastrous economic repercussions in the long run. Because of this, licenced roofers don't endorse it and actively advise against it.
A PROFESSIONAL JOB WILL LOOK MUCH BETTER THAN THIS
If done right, a new roof can transform the look of your home. Though a roof may not be the first thing people notice about a home, a poorly installed one will definitely be noticed.
If your roof is poorly installed, it will be immediately noticeable because it covers your entire home. Unevenness in appearance and rippled shingles are both indicators of a poorly done roof. These issues typically manifest shortly after the roof is put in place.
DIY FIXES CAN GET EXPENSIVE
DIY roofing may save you money up front , but it can end up costing you a lot more in the long run when you have to make repairs. There's the opportunity cost of missing out on work or other obligations so you can tend to your roof .
Second, if you're in a hurry to finish your roof, you'll need to recruit some help from your friends and family. This can put a strain on your budget, and having too many people involved in your roofing project increases the likelihood of mistakes, which can lead to additional expenses.
Consider the total cost of materials, time lost from work, and the minimum wage labour costs of any helpers you'll need before deciding whether or not to repair your roof yourself (as an example). When you put your final roofing installation estimate up against a professional roofer's, you'll see that DIY roofing isn't as cost-effective as you might have thought.
It's possible to save several hundred dollars by handling these minor fixes on your own. However, it will be worthwhile if you can do the roof repair work without putting anyone in danger. If the task at hand is more complex, an inexperienced homeowner could potentially cause more damage than good. Problems with the roof can quickly spiral out of control if they aren't addressed properly, resulting in a hefty repair bill and additional expenses down the road.
Conclusion
A roof is inherently hazardous due to its height, sloping surface, and lack of protective barriers. It is important to ask yourself if you think you'll need professional help or are capable of repairing it yourself. If you are reasonably handy, have a keen eye for detail, and carefully adhere to all safety precautions and package directions, you may be able to successfully roof your own home using images from DIY websites. However, if your roof has a roof-to-wall transition, dead valley, hips, dormers, pitch changes, chimneys, or any of a number of other special issues requiring flashing, you should not attempt this on your own. T-lock shingles are no longer manufactured, and insurance policies typically cover this expense.
Poor ventilation can lead to roof deck rot, accelerated shingle deterioration, and even indoor mould and mildew growth. The most important details in this text are that it is possible to fix or replace your roof, but it is not recommended if you don't take the necessary safety measures. The author has spent a considerable amount of time working on roofs and can attest to this. It is important to take your time when selecting a contractor and verify that he is properly credentialed, licenced, and insured to carry out the work. Roofing is hot, exhausting work, and shingle bundles weigh around 80 pounds each.
The author also warns that there is a level of risk associated with being on a roof that is often disregarded. Roofing is like making a milkshake in that there are many components and the process itself may seem straightforward, but in order to get the best results, you need to have experience in the kitchen. Depending on your level of roofing expertise, it may be more akin to a kitchen renovation or more akin to painting. Talk to a roofer if you need a new roof to protect your home from water damage and wind, or tear up the old flooring to save money. Some roofers will be grateful to have you do some of the work, as they tend to get a lot of jobs during the summer.
The most important details in this text are that putting in a new roof on your own is not recommended due to the need for trained professionals and the inherent dangers of working on a roof. Minor repairs, such as repairing a leak or substituting a few shingles, may be doable without hiring a professional, but it takes more expertise to apply the new roof and you need to work quickly so that your roof is not exposed to the elements. To ensure safety, it is important to wear rubber-soled shoes to the roof, keep an eye on your progress from the ground, and take into account two factors: warranty and insurance. If not covered by your homeowner's policy, you run the risk of having any future damage claims denied and could have trouble getting a mortgage or selling your home. Call in a professional roofer if you need extensive roof work done or will need to spend a lot of time up there for any reason.
Roofing shingles can warp or melt in hot climates, and if there are insulation issues, a roofer may be able to tell you that they are the cause of your home's low energy efficiency. Doing the roofing work yourself will not save any money, and if the materials are improperly installed, it will result in expensive damage. If a roofing product is not installed by a licenced roofing contractor, the manufacturer may not stand behind it. The most important details in this text are that putting on a roof is risky work, and that DIY tutorials on roofing can be found on YouTube, but they typically feature professionals giving advice on basic repair work and simple patching jobs. Additionally, it is possible for a damaged roof to cave in, leading to costly repairs inside the house and possible bodily harm to anyone who happens to be walking on it.
Finally, there is a risk that a major issue will go underdetected. The question of whether shingling over an existing roof can help homeowners save money arises frequently, but it does not fix the problems underneath, and the warranty from the roofing company is usually nullified. A professional job will look much better than DIY fixes, and a poorly installed roof will be immediately noticeable due to unevenness in appearance and rippled shingles. DIY fixes can also get expensive. DIY roofing can save money up front, but it can end up costing more in the long run when you have to make repairs.
It is important to consider the total cost of materials, time lost from work, and the minimum wage labour costs of any helpers before deciding whether or not to repair your roof yourself. It is possible to save several hundred dollars by handling these minor fixes on your own, but it will be worthwhile if you can do the roof repair work without putting anyone in danger.
Content Summary:
- A roof is inherently hazardous due to its height, sloping surface, and lack of protective barriers.
- Getting on a roof is always a risky proposition.
- In light of this, it's important to ask yourself some tough questions before deciding to fix your roof.
- Do you think you'll need professional help or are you capable of repairing this roof yourself?
- Consider how much cash you could save if you tackled it on your own.
- The answers to these questions are trickier to come up with.
- The last thing a homeowner should do is climb up on the roof, much less try to fix it themselves.
- Without proper training and experience, you risk hurting yourself and causing irreparable damage to your roof.
- If you are reasonably handy, have a keen eye for detail, and carefully adhere to all safety precautions and package directions, you may be able to successfully roof your own home using images from DIY websites.
- Nonetheless, it's not as easy as they make it sound.
- In addition, you should not attempt this on your own if your roof has a roof-to-wall transition, dead valley, hips, dormers, pitch changes, chimneys, or any of a number of other special issues requiring flashing.
- Small, straightforward, gable homes with few penetrations are relatively uncommon these days, so a handyman armed only with common sense and a hammer might do a decent job on one.
- The same holds true for maintenance; if you only need to replace a couple of shingles, you might be able to do it yourself.
- Why am I missing a few shingles, and is there more extensive damage that I can't see?
- These are questions that need to be asked.
- Get professional help if you suspect a leak.
- T-lock shingles are no longer manufactured, so if you have them you'll need to replace your entire roof.
- If the seal between two layers of architectural shingles is broken, additional shingles may blow off during a storm.
- The attic could get damp if it isn't well ventilated.
- Leaks into the attic can cause problems for years without causing any noticeable damage inside the home if chimneys, valleys, or walls are not properly flashed.
- The roof's structure may already be compromised by the time you notice problems with your ceiling.
- Walking on your roof can damage the shingles and put you in danger if you don't know what you're doing.
- Remember that the cost of a day at the hospital is much higher than the cost of a roofer.
- If you haven't hired a licenced professional, your insurance company might not cover the whole bill.
- Roofing is hot, exhausting work, and shingle bundles weigh around 80 pounds each; it would be a shame to go through all that trouble just to save money on insurance.
- At the end of the day, I'd say that it is possible to fix or replace your roof, but that it is not something I typically recommend.
- If you don't take the necessary safety measures, you could end up spending more money fixing your roof or on medical bills than you would have on a professional roofer.
- Having said that, it's important to take your time when selecting a contractor; don't just hire the first guy who shows up in a pickup truck carrying a hammer.
- Verify that he is properly credentialed, licenced, and insured to carry out the work.
- DO NOT believe that you will save money by going with the cheapest option; in most cases, this will turn out to be false.
- First, we will address the threat of silence.
- Having "sea legs," as sailors call it, is an instinct that roofers share.
- Since they spend so much time up there, roofers instinctively know how to move around on any surface, no matter how slippery it may be.
- The author has spent a considerable amount of time working on roofs and can attest to this.
- Even if you're used to heights from activities like rock climbing or skydiving, navigating a roof is an entirely different animal, which is why most homeowners rarely if ever venture up there.
- The lesson to be drawn from this is that there is a level of risk associated with being on a roof that is often disregarded.
- Strong winds can appear out of nowhere, knocking you to the ground and possibly causing you injury if you are carrying an OSB panel or something similar.
- Once you've assessed your skills and overcome your apprehension about working from a rooftop, you can turn your attention to the task at hand.
- Roofing is like making a milkshake in that there aren't that many components and the process itself may seem straightforward, but in order to get the best results, you need to have some experience in the kitchen.
- In contrast, if you make a bad milkshake, you don't have to drink it, but if you put a bad roof on your house, you'll have to live with it all year long or pay to have it redone.
- If you're looking for the most common DIY project, it's painting, while the least common is renovating your kitchen.
- Roofing must fall roughly in this range.
- Depending on your level of roofing expertise, it may be more akin to a kitchen renovation or more akin to painting.
- Talk to a roofer if you need a new roof to protect your home from water damage and wind but don't have the money for it.
- Perhaps you're an advocate of getting your hands dirty.
- If you're having a professional tiler come in and redo your floors, you might want to tear up the old flooring first.
- If you want to save money on roofing, discuss tearing off the old roof with your contractor.
- Some roofers will be grateful to have you do some of this work, as they tend to get a lot of jobs during the summer and can't handle it all.
- No matter what kind of roofing material is chosen, it must still be installed by trained professionals.
- Putting in a new roof on your own is not recommended.
- You probably don't even need to read this article if you're handy and already know a little bit about roofing.
- But if you're wondering if you have what it takes to pull this off, the answer is yes.
- Muscle and sweat are all that's required to tear off the old roof.
- It takes a bit more expertise to apply the new roof, and you need to work quickly so that your roof is not exposed to the elements.
- This, coupled with the inherent dangers of working on a roof, makes the task challenging for those without extensive training in roofing.
- DIY (Do It Yourself) Minor repairs, such as repairing a leak or substituting a few shingles, may be doable without hiring a professional.
- Repairing broken or missing shingles is as easy as detaching the damaged section, applying roofing cement with a caulking gun, and reattaching the new shingle.
- But keep in mind that you shouldn't do this unless you're confident in your ability to spend time safely on the roof.
- Wear rubber-soled shoes to the roof to avoid slipping, and keep an eye on your progress from the ground.
- Avoid venturing out onto the roof in inclement weather to check for downed power lines.
- Plus, before you get started, make sure you take into account these two factors: Warranty.
- If not, you run the risk of having any future damage claims denied and could have trouble getting a mortgage or selling your home.
- If you need extensive roof work done or will need to spend a lot of time up there for any reason, you should call in a professional roofer.
- If you reside in a cold climate where freezing temperature can reach, snow, and ice place a burden on your roof, you should have a roofer inspect it on a regular basis to look for damage caused by the elements.
- Roofing shingles can warp or melt in hot climates.
- In many cases, only an expert can see the warning signs that a serious issue is brewing.
- In addition, if there are insulation issues, a roofer may be able to tell you that they are the cause of your home's low energy efficiency.
- It can be difficult to justify spending money on a new roof when it's not something you see every day.
- You could save some cash by handling it on your own, and this is understandable.
- Doing the roofing work yourself, however, will not save you money.
- When a few shingles are missing or worn, it's one thing to replace them, but when the roof needs to be redone, it's a whole different ballgame.
- Expert roofers know exactly where to look for issues in the decking of a roof.
- In addition, they know how to spot problems and advise homeowners on the best, most affordable ways to fix them.
- If you attempt to replace your roof on your own and fail to identify any issues, you will end up paying more to have a professional fix the job.
- Almost without exception, if a roofing product wasn't installed by a licenced roofing contractor, the manufacturer wouldn't stand behind it.
- The reason for this is straightforward: if the materials are improperly installed, it will result in expensive damage.
- You'll be gambling that your roof goes on without a hitch if you try to put it in yourself.
- Without a warranty, you won't be able to rest easy knowing that your shingles and other materials are protected, no matter how well you install them.
- In the future, if maintenance or a replacement becomes necessary, you will have to pay for it yourself.
- While you might save some money in the short term by attempting to do it yourself, you will almost certainly incur greater expenses in the long run.
- Putting on a roof may look like child's play, but it's actually quite risky work.
- Heights, steep slopes, the elements, and mechanical devices are just some of the risks that must be taken into account.
- Experienced roofers have the gear necessary to do their jobs without risk.
- DIY tutorials on roofing can be found on YouTube, but keep in mind that these videos typically feature professionals giving advice on basic repair work and simple patching jobs.
- As a homeowner, it is likely that you have never had to replace a roof.
- An expert roofer for homes will have installed or repaired roofs hundreds, if not thousands, of times.
- They can complete the work more quickly, and the finished product will enhance the aesthetic value of your home.
- In addition, the level of damage to your roof may now make it unsafe to walk on.
- Sagging, leaking, cracks in masonry, and buckled ceilings are all signs of a roof that needs repair.
- Doors and windows that become stuck suddenly may be an indication that the frame of your home has been compromised due to movement on the roof.
- You shouldn't go up on your roof if you have any reason to believe it might be dangerous.
- It's possible for a damaged roof to cave in, leading to costly repairs inside the house and possible bodily harm to anyone who happens to be walking on it.
- After a heavy rain, you may want to try to cover up a stain on your ceiling by patching the leak and painting over it.
- Simple, right?
- Though it might improve the way something looks, this approach might not take into account a more fundamental issue.
- In the long run, more damage will occur if you try to patch something up without fixing the underlying problem.
- Mold, rot, and eventually structural failure can result from water damage that spreads over time.
- The question of whether or not shingling over an existing roof can help homeowners save money arises frequently.
- Putting new shingles over old ones can give your roof a nice appearance, but it doesn't fix the problems underneath, which is where water damage is most likely to occur.
- In addition, the warranty from the roofing company is usually nullified if you put new shingles over an existing roof.
- This is a quick fix with disastrous economic repercussions in the long run.
- Because of this, licenced roofers don't endorse it and actively advise against it.
- If done right, a new roof can transform the look of your home.
- Though a roof may not be the first thing people notice about a home, a poorly installed one will definitely be noticed.
- If your roof is poorly installed, it will be immediately noticeable because it covers your entire home.
- Unevenness in appearance and rippled shingles are both indicators of a poorly done roof.
- These issues typically manifest shortly after the roof is put in place.
- DIY roofing may save you money up front , but it can end up costing you a lot more in the long run when you have to make repairs.
- There's the opportunity cost of missing out on work or other obligations so you can tend to your roof .
- Second, if you're in a hurry to finish your roof, you'll need to recruit some help from your friends and family.
- This can put a strain on your budget, and having too many people involved in your roofing project increases the likelihood of mistakes, which can lead to additional expenses.
- Consider the total cost of materials, time lost from work, and the minimum wage labour costs of any helpers you'll need before deciding whether or not to repair your roof yourself (as an example).
- When you put your final roofing installation estimate up against a professional roofer's, you'll see that DIY roofing isn't as cost-effective as you might have thought.
- It's possible to save several hundred dollars by handling these minor fixes on your own.
- However, it will be worthwhile if you can do the roof repair work without putting anyone in danger.
- If the task at hand is more complex, an inexperienced homeowner could potentially cause more damage than good.
- Problems with the roof can quickly spiral out of control if they aren't addressed properly, resulting in a hefty repair bill and additional expenses down the road.
Frequently Asked Questions About DIY In Your Roof
DIY work on your roof can be dangerous, so it's important to take necessary precautions to ensure your safety. You should always wear appropriate safety gear, such as a hard hat and non-slip shoes, and use a secure ladder. It's also important to be aware of the weather conditions and not to work on your roof in wet or windy conditions.
There are several DIY tasks that you can do on your roof, including cleaning gutters, replacing damaged or missing shingles, and sealing leaks. However, more complicated tasks such as replacing the entire roof should be left to professionals.
Some tools you may need for DIY work on your roof include a ladder, safety harness, hammer, roofing nails, roofing cement, roofing shingles, a utility knife, and a caulking gun. The specific tools you need will depend on the task you're performing.
It's recommended to inspect your roof at least twice a year, preferably in the spring and fall. During the inspection, look for signs of damage such as missing or cracked shingles, leaks, and damage to flashing. Addressing any issues as soon as possible can prevent them from becoming more serious and costly.
If the repair work requires significant experience or specialized equipment, it's best to hire a professional. For example, if your roof needs a complete replacement or there are significant leaks, it's best to leave the repairs to professionals. Additionally, if you're not comfortable working at heights, it's best to hire a professional to ensure your safety.