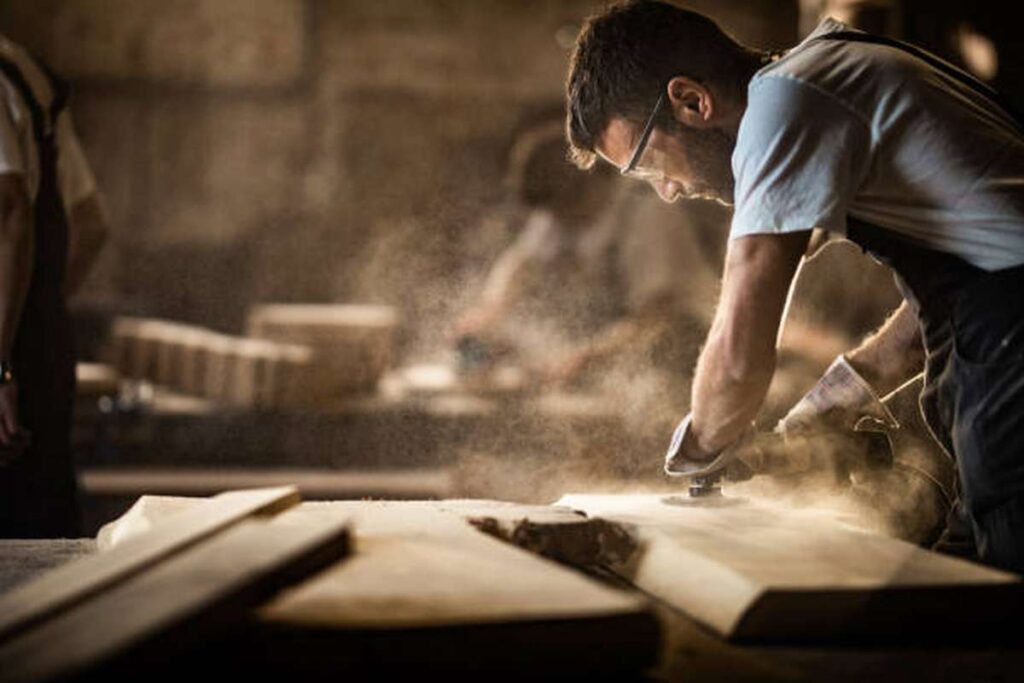
Wood has a wide variety of uses in the design industry. The presence of wooden furniture serves as a continuous companion in our day-to-day activities, making them more comfortable and convenient. Wooden furniture has served us well for centuries, well before the industrial revolution.
Steel, aluminum, glass, and plastic were just few of the many new materials introduced to the world after the industrial revolution. Yet wooden furniture has always been and will always be an important part of the industrial sector.
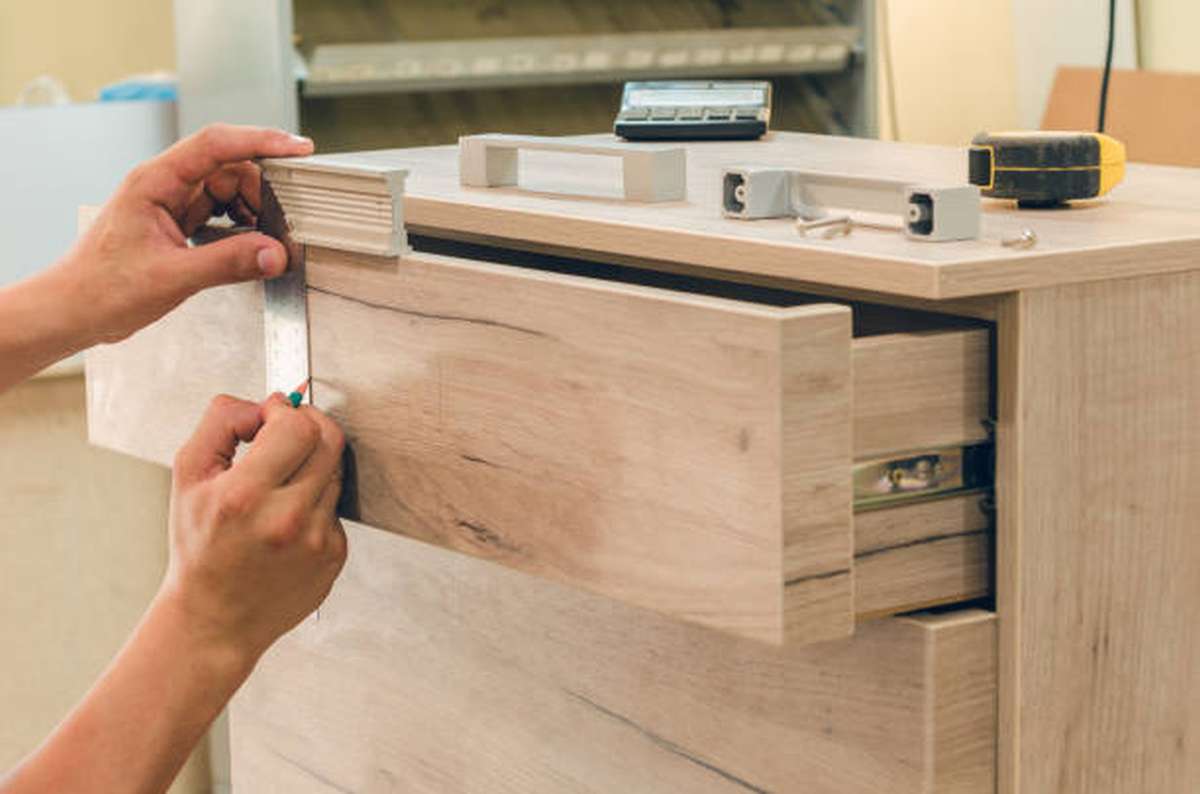
You can't have a properly furnished living room or bedroom without at least one piece of wooden furniture. Aside from its durability, wood also has a variety of other benefits. But, occasionally the going gets difficult, and you can land up with a damaged piece of wooden furniture. Damage, such as cracks or gouges, can be done to your prized safe space.
The furniture in your home may be old and overworked, and as with any other material object, it may have begun to deteriorate as a result. Yet, it's also likely that you bought some used furniture from garage sales, and that part of it already has gouges on it. As long as you know what to do, you may restore them to their original condition and functionality.
Fixing your wooden furniture is easier than you believe. This includes your chairs, tables, sofas, credenza, and bed. Certainly, if you follow these procedures and invest up to a hundred dollars in repairs, you will be able to restore your wooden furniture like a professional.
Scratches, gouges, and discolouration are just some of the common forms of wear and tear that can occur to the finishes on your wooden furniture. Fortunately, many of the problems have workable solutions.
Below, you'll find detailed instructions on how to get started. You'll find out how to treat everything from burns to gouges. Even the veneer and hardware on your furniture will have repair guides. Let's start with the obvious deterioration and staining on the surface.
Mend the Little Cracks and Chips.
Can't get your living room to look like a tropical paradise because of ugly holes in the wooden furniture? Then, immediately fill in the gaps until they are flush with the surrounding surface.
Putty sticks in a wood tone are an excellent tool for repairing surfaces. If the required color can't be found, try mixing several others. As you apply the putty sticks, use your finger to smooth the area. After waiting a week or two, the next step is to refinish it.
Fix the Big Gaps
The answer to fixing large holes is to fill them with wood. Using glue as a backup alternative is reasonable here because the wood will help the stain look more natural. You should instead push in a toothpick or the stick from a caramel apple until the surface is flush.
Water putty fillers also fare remarkably well in this context. Water and oil stain can be used to modify the colors. If the filler's colors don't match the furniture, it will stand out like a sore thumb. Check the color by doing a test run on a matte surface.
Modify the Watermarks.
There are times when dealing with watermarks might be a hassle. All of your hard work painting or refurbishing can be for naught if that happens. A spray shellac boot could be the solution in this case. You may rest easy knowing that this will erase the blemish.
What End Does Wood Deteriorate?
A wide range of environmental and anthropogenic variables can damage wood. In the presence of dust and large, jagged particles, for example, they can leave scratch marks on a wooden object. Even smaller holes can be drilled into the wood using sharper implements.
Humidity is also a potential problem. The wood will rot and mold will grow if it is subjected to too much moisture, which will eventually compromise its integrity.
Sunlight is the single most important component in discolouration. Excessive exposure to sunshine can cause the wood's formerly vibrant, even color to fade and become uneven.
The wood is vulnerable to a wide range of environmental stresses. Cold, dry weather causes wood to compress, whereas warm, humid weather causes it to expand. Everything of physics rests on this premise. This cycle of contraction and expansion can weaken the wood's structure to the point where it breaks.
Methods of Repairing Worn or Broken Wood
When wood is damaged, it can be repaired and reused unless the break is so extensive that the wood cannot be used at all. If you follow these instructions, repairing any damage to the wooden furniture in your home will be simple and inexpensive. -
Healing Methods from Nature
Several chemical treatments can revitalize the natural shine and color of worn wood. If a natural remedy exists, then there is no reason to opt for a chemical treatment.
If you're looking for a natural way to treat discolouration, coconut oil is your best bet. The use of coconut oil helps restore the wood's natural color and suppleness.
Fixing Serious Problems
Though it may appear daunting at first glance, fixing major damage is usually not too tough of an undertaking. For instance, if a plank of wood you have has a sizable hole in it, you'll need wood filler to conceal the damage.
Wood fillers are considered an essential tool by the vast majority of woodworkers, both amateur and professional alike. In order to restore the original appearance of their wooden surfaces or projects, they utilize these fillers.
You may find many different types of fillers at the market, but one of the best is the Bondo all-purpose filler. Mix the Bondo filler thoroughly in a shallow dish, then apply it to the damaged region of the hole.
Tending to a Few Scrapes and Cuts
Minor nicks and scratches can be fixed without much effort. Blend together a quarter cup of vinegar and three-quarters of a cup of canola oil. It needs to be fully blended before being applied to spots with light scuffs or scrapes.
With time, the scars will fade, and the wood will look as if it had never been touched.
Vinegar Use
If you want the wood to have a slightly darker appearance while still keeping its natural wood color, vinegar is the ideal product to use. Apple cider or balsamic vinegar Cider vinegar can be used to enhance the wood's natural grain and depth of color.
Vinegar applied to the wood surface with a wire brush will seep into each individual wood grain. This means the color will remain vibrant for much longer.
Resurfacing to Get Rid of Stains
Applying a refinish is not as easy as it looks because of the many procedures involved. There are a few steps between buying stain and using it to repair wood.
To begin, sand the wood in the direction of the grain using a sander. Because a smooth surface better absorbs stain and brings out the wood's natural color, it's ideal if the surface can be made as smooth as possible.
Repairing Wood by Filling up Cracks and Openings
You've discovered a useful old wooden item, but it's riddled with nail holes. Filling the hole with glue or staining the wood are both viable options for addressing this issue.
A lot of individuals think glue is best since it clamps the hole shut more securely than any other alternative. Yet, a wood stain can simulate wood while still maintaining the material's original color. Because of this, you can choose whatever alternative suits your needs most, as they are both viable choices.
Make Use of the Lumber Located Below the Existing Flooring.
A number of layers of wood are used in the construction of some wooden objects. The wood's durability improves as a result. But, suppose you discover that the wooden item's outermost layer is damaged or losing its color. If this happens to you, don't fret; just peel away the top layer to reveal usable wood beneath.
Besides from being quick and easy, this procedure is also quite cheap. Saving time and money will necessitate reducing the quality of the final product, though.
Watermarks Can Be Removed Using Mayonnaise or Petroleum Oil.
Indeed, you did just read a sentence containing the word "mayo." For a widespread issue with multiple potential solutions, this method seems like an obvious choice. Whenever water penetrates wood, whether it is an object or a floor, it leaves a visible stain. It's possible that the staining will make the wooden item look unclean and unappealing. Petroleum oil or mayonnaise can be used to eliminate the discoloration.
Water stains can be removed by using mayonnaise or petroleum oil and waiting a few hours before washing. Once the mayonnaise or oil has been wiped away, the water stains will no longer be visible.
Shade from the Sun's Harmful Rays
Exposure to sunlight can cause serious deterioration of wooden objects. Sunlight, especially ultraviolet (UV) radiation, can cause adhesion and discoloration in wood, as well as diminish its appearance. An opaque coating could stop that from happening.
Opaque finishes are the best at shielding wood from the sun's UV rays and keeping it looking like new for longer.
Cleaning Up Discolorations And Stains
Most finishes, when applied to the surface of wood, harden into a protective layer. In order to repair a finish coating, you should only go as deep as the damage allows. Then, be careful not to scrape off more of the finish than is absolutely necessary when working on any surface. This technique, along with several other simple methods, will be discussed in this article to help you clean the wood furniture in your home of stains, blushing, and other discolorations.
Dots of White
Water and alcohol can easily damage shellac and lacquer finishes. Spills and condensation from glasses can leave persistent white spots or circles on these surfaces. Buff the surface with liquid furniture polish after applying it. Next, make an effort to buff the exterior. To remove stubborn stains, try wiping the area with denatured alcohol. Using too much alcohol will damage the finish, so moderation is key.
Using a soft cloth, wipe the surface clean after applying the ash-oil paste to the stained area and rubbing it in along the wood grain to remove the stain. You should repeat the steps if they prove necessary. Spot removal may require more than one application in some circumstances. The next step is to wax and polish the entire surface.
If cleaning with ashes doesn't get rid of the discoloration, try using a mixture of rottenstone and linseed oil and scrubbing that. Mix the rottenstone with the oil to form a thin paste, and then massage it over the stain in the same direction as the wood grain.
You should be very careful when rubbing with rottenstone because it is a very sharp abrasive. Check the surface often to make sure you aren't going through to the deeper layers as you cut. As soon as the white spots disappear, switch to a softer cloth to finish cleaning the wood. After applying two layers of hard furniture wax, buffing to a shine is the next step.
Blushing
Blushing is a common issue with older finishes composed of shellac or lacquer, and it manifests as a white haze throughout a wide area or an entire piece of furniture. Moisture is responsible for the discoloration, and it can occasionally be removed in the same way that white spots are.
Buff the surface softly and consistently using steel wool that has been moistened in linseed oil. The next step is to massage the entire surface in the same direction as the wood grain until the foggy white appearance disappears. After wiping the wood down with a damp cloth, applying two coats of strong furniture wax, and buffing to a high sheen, the piece is ready for display.
Sometimes a procedure called amalgamation might get rid of blushing completely. However, if the surface is crazed or alligatored, amalgamation is preferable to steel-wool rubbing. If scrubbing or amalgamation does not remove the haze, the furniture's finish will need to be reapplied.
Dark Areas
Black marks indicate that water has completely penetrated the finish and is now present in the wood below. That's why you can't get rid of them without ruining the surface in the process. Spot removal may be possible if they are located on a distinguishable surface; otherwise, the entire piece of furniture will need to be stripped.
Once the finish has been removed, the stained surface should be bleached using a solution of oxalic acid. Then, refinish it to your specifications.
Blemishes from Ink Use Similar to how black water spots are impossible to remove without refinishing, stains that have infiltrated the finish are similarly hopeless. Nonetheless, it may be possible to remove minor ink stains. Then, gently buff the stained area with a cloth dampened with mineral spirits, and finally, rinse the wood with a clean towel and water. Applying wax and polish once the surface has dried completely is recommended.
Try scrubbing the soiled area with steel wool that has been dampened with mineral spirits if this doesn't work. It's important to rub with the wood's grain. The next step is to give the surface a good cleaning before applying wax and polishing it. The coating could be damaged by this treatment. If necessary, follow the steps below to repair the affected region and restore its original appearance. If the damaged area is particularly large, the entire surface or furniture will be refinished.
Grease, Tar, Paint, Crayon, Lipstick, and Other Assorted Stains
Avoid scraping the wood, as doing so will damage the finish. Instead, after the top layer has been stripped away, rub the area very softly with steel wool dampened with mineral spirits, working in the direction of the wood grain. The next step is to wax and polish the entire surface.
Crusty Areas From Wax And Gum
In most cases, wax and gum can be removed without much effort; nevertheless, care must be taken during the removal process to prevent damage to the finish. Putting pressure on the wax or gum with an ice pack wrapped in a towel or paper towel will cause it to crack and break.
To remove the deposit, hold off until it is more solid, and then scrape it off with your fingernail. Brittle wax or gum will peel away from the surface with minimal effort. You may need to reapply the ice several times if the situation warrants it. A scraper will damage the finish if you try to remove the deposit.
After scraping off all traces of wax or gum, lightly wipe the region in the direction of the wood grain with steel wool that has been dampened with mineral spirits. The next step is to wax and polish the entire surface.
Modifying Some Elements
Repairing significant scratches, gouges, burns, or any other type of finish damage always necessitates refinishing the repaired area. Such wounds can be as severe as gouges, burns, or deep scratches. Spot refinishing is not usually a straightforward or successful process, especially on discolored surfaces.
If the damage is not too severe, it is worth a shot. But, if you need to fix many places on a single surface, it's probably best to refinish the entire item rather than patching it.
To match the existing stain around the edge of a surface, use an oil-based stain of the same color. Staining a surface may need using more than one stain to achieve the desired effect. Stain must be tested on a small, unfinished section of wood before being applied to the finished surface.
Before applying the stain, it is essential to prepare the damaged area so that it may be finished. The need for a seal is not present. Spread the stain over the damaged area with an artist's brush or clean cloth, making sure to cover the entire exposed surface.
Let the stain sit for fifteen minutes, then wipe it away using a clean cloth. Apply another coat of stain, let it sit for 15 minutes, and then wipe it down again if you'd like a deeper shade. If more coats are required to get the desired color, repeat the process and let the stain dry according the manufacturer's instructions.
Lightly buff the stained area with steel wool, and then wipe it down with a tack cloth to remove any residue. The next step is to cover the stained area with a new coat of the same finish that is already on the surface, such as varnish, penetrating resin, shellac, or lacquer, and then to feather out the new finish so that it blends in with the previous finish that is surrounding it. One or two days after applying the new finish, lightly buff the repaired area with steel wool. The final step is to cover the entire surface with hard paste wax and buff it till it shines.
Conclusion
Wood furniture is an important part of the industrial sector, but it can be damaged by wear and tear. Repairing it is easier than you think, with detailed instructions on how to treat everything from burns to gouges. Wood can be repaired and reused by using putty sticks, water putty fillers, and spray shellac boots to repair worn or broken furniture. Environmental and anthropogenic variables can damage wood, such as dust, humidity, and sunlight, which can lead to discolouration. Chemical treatments can restore the natural shine and color of worn wood, such as coconut oil, vinegar, and wood fillers.
Watermarks can be removed using mayonnaise or petroleum oil, as well as shade from the sun's harmful rays. Abrasives can be used to clean wood furniture of stains, blushing, and other discolorations, such as dots of white water and alcohol. Blushing is a common issue with older finishes, and can be removed by gently buffing the surface with steel wool, applying two coats of furniture wax, and buffing to a high sheen. Refinishing is necessary to repair scratches, gouges, burns, or any other type of finish damage, especially on discolored surfaces. The most important idea is to prepare the damaged area before applying the stain and then buff it with steel wool and hard paste wax.
Content Summary
- Fixing your wooden furniture is easier than you believe.
- Certainly, if you follow these procedures and invest up to a hundred dollars in repairs, you will be able to restore your wooden furniture like a professional.
- Scratches, gouges, and discolouration are just some of the common forms of wear and tear that can occur to the finishes on your wooden furniture.
- Even the veneer and hardware on your furniture will have repair guides.
- Putty sticks in a wood tone are an excellent tool for repairing surfaces.
- As you apply the putty sticks, use your finger to smooth the area.
- The wood is vulnerable to a wide range of environmental stresses.
- Several chemical treatments can revitalize the natural shine and color of worn wood.
- If a natural remedy exists, then there is no reason to opt for a chemical treatment.
- If you're looking for a natural way to treat discolouration, coconut oil is your best bet.
- The use of coconut oil helps restore the wood's natural color and suppleness.
- For instance, if a plank of wood you have has a sizable hole in it, you'll need wood filler to conceal the damage.
- To begin, sand the wood in the direction of the grain using a sander.
- You've discovered a useful old wooden item, but it's riddled with nail holes.
- Filling the hole with glue or staining the wood are both viable options for addressing this issue.
- A number of layers of wood are used in the construction of some wooden objects.
- Petroleum oil or mayonnaise can be used to eliminate the discoloration.
- Once the mayonnaise or oil has been wiped away, the water stains will no longer be visible.
- Opaque finishes are the best at shielding wood from the sun's UV rays and keeping it looking like new for longer.
- Most finishes, when applied to the surface of wood, harden into a protective layer.
- In order to repair a finish coating, you should only go as deep as the damage allows.
- This technique, along with several other simple methods, will be discussed in this article to help you clean the wood furniture in your home of stains, blushing, and other discolorations.
- Dots of WhiteWater and alcohol can easily damage shellac and lacquer finishes.
FAQs About Repairing Wooden Furniture Surface
Wood putty is denser than wood filler, and it's so pliable you typically have to apply it with a putty knife. Like window glazing or plumber's putty, wood putty is a mixture of plastic and oil-based solvents. Because it doesn't harden like wood filler, wood putty won't shrink or crack, but you can't sand it.
- Remove any hardware.
- Wipe on mineral spirits.
- Clean the surface.
- Fix the white rings.
- Fill small cracks and imperfections.
- Try to fix the dents.
- Restore the colour with gel stain.
- Renew the lustre with a wipe-on finish.
To sum up the difference between caulk and wood filler, caulk is to be used to fill in corners and gaps between two materials, whereas wood filler should be used to fill nail holes and other damage on flat wooden surfaces. Wood filler can be sanded and caulking can not.
Spackle is primarily used on drywall and plaster, while wood filler is mainly used on wood. This is by far the main difference between these two patches.
The first main difference between wood putty and wood fillers comes in the material it is made with. Wood putties use synthetic materials like epoxy or polyurethane, making them stay relatively pliable even after drying and generally unsuitable for raw wood.