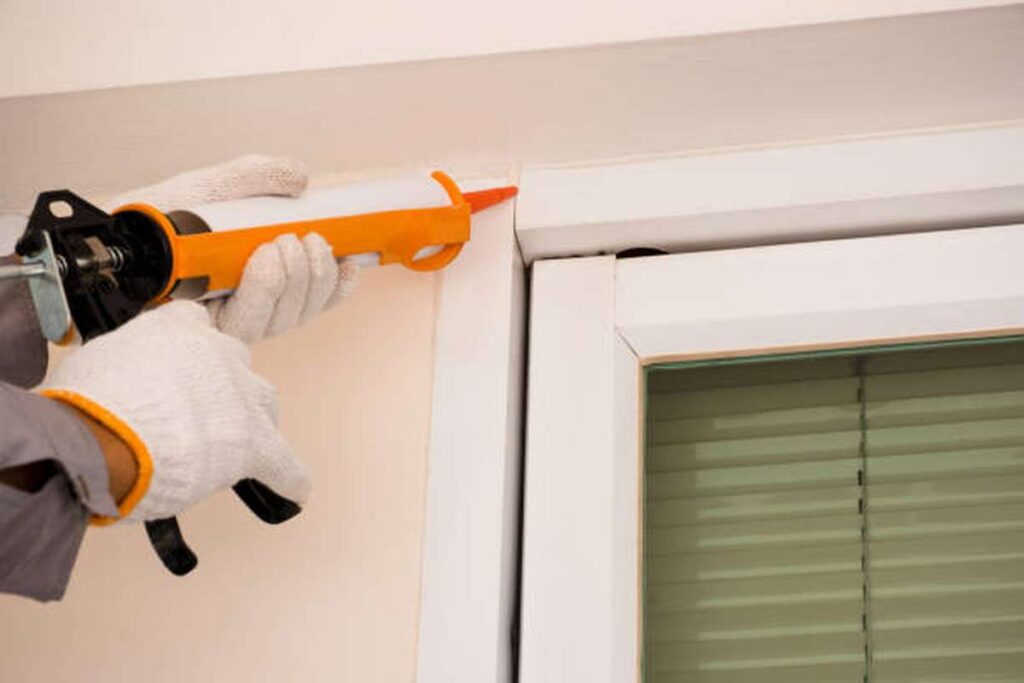
You are probably like the majority of homeowners in that you haven't given the topic of outside waterproofing much thought. But, you rarely bring up the topic of your home even if it is a major priority. What if, however, We informed you that you could keep water out of your basement with hardly any work on your part and no extra cost involved? Making the exterior as watertight as possible to prevent water damage doesn't need much time or effort. This raises the issue of tactic. Now, allow us to fill you in.
Waterproofing Painted Wood Outdoor Furniture
Wooden furniture is prone to rotting and breaking if it is not treated to be water resistant. Additionally, you can't utilise interior furnishings outside.
Hence, if you intend to put these woods outside and have them last, you must have them waterproofed.
Here, you'll learn the steps to take to ensure that your painted wood patio set can withstand the elements.
Waterproofing Painted Furniture For Outdoor Use
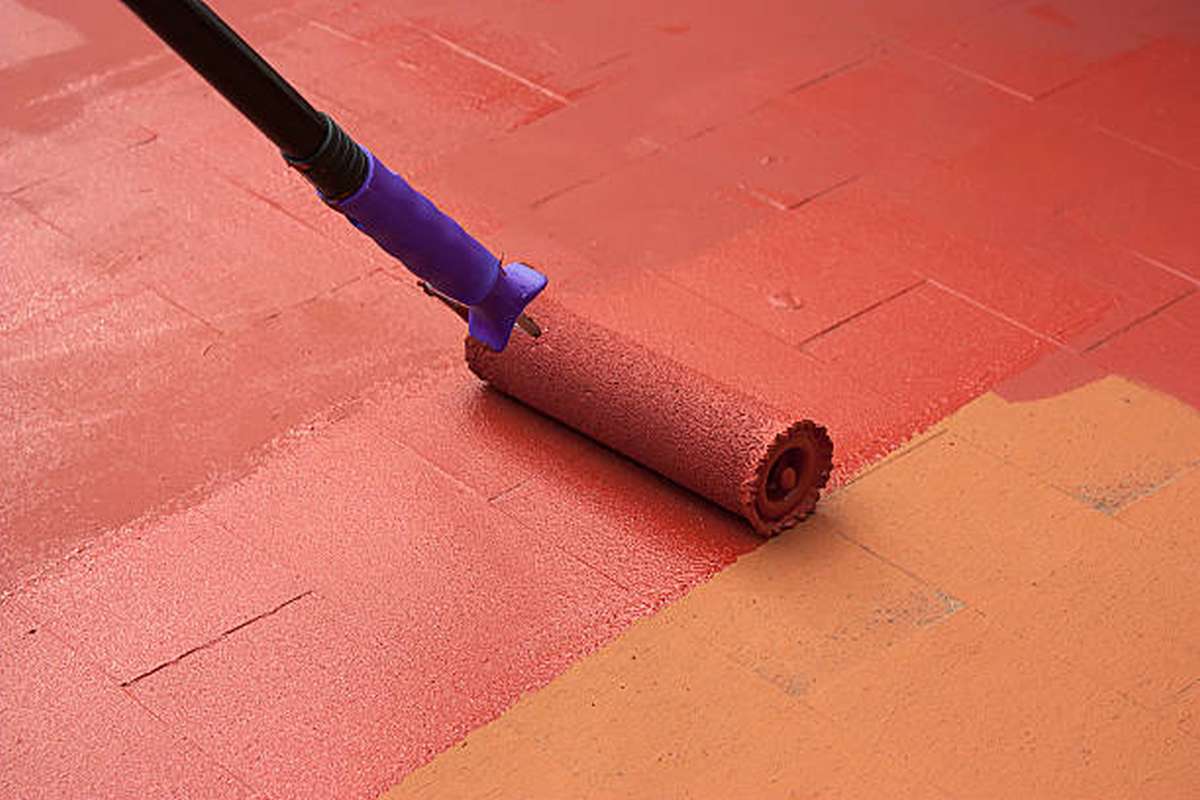
Applying a sealant is the quickest, most hassle-free method of making your furniture weatherproof for usage in the great outdoors. This will lengthen the life of your furniture. The sealer also improves the wood's appearance by giving it a glossy sheen and transforming the grain pattern.
FAQS About External Waterproofing
Waterproofing. A great, sure way to use an indoor pillow outside is to waterproof it. It is as easy as spraying the pillow down with Scotchgard (Heavy Duty Water Shield) a couple of times, and you are good to go. It's the easiest way to make any pillow or fabric waterproof and outdoor safe.
You can now make your own at home, in the factory or on the job through waterproof and water repellent concrete grout or masonry cement. Cementmix replaces water in the mixing process of concrete and cement.
Our Take: You can ensure a fully waterproof substrate by using a penetrating, impregnating sealer that densifies and hardens concrete and provides a hydrophobic surface barrier.
The only way to properly use untreated wood of any type outside is to add water-repellent preservatives, sealer or paint that contain UV protection. Over-the-counter wood preservatives are available in clear versions or with stain containing pigment or dye to colour the wood.
While the range between 5,000 mm and 10,000 mm is excellent for spending long days outdoors through cold and wet weather conditions. It can withstand rains and winds, making it ideal for hunting and fishing. Waterproof ratings beyond 10,000 mm are best suitable for avid skiers, snowboarders and mountaineers.
How To Use A Sealant to Make Paint Wood Waterproof
A quarter of liquid detergent can be used to clean a gallon of water. Please combine the ingredients thoroughly. The dark wood surface should next be scrubbed thoroughly using a cleaning brush.
Washing And Drying:
In order to thoroughly clean the furniture, use a hose to spray it down. Then, wait for it to dry, which could take up to three hours.
Prime The Wood Surface As Follows:
For longer-lasting results after sealing wood, apply primer beforehand. Apply the primer to the surface in even strokes using a paintbrush.
Put Sealant On:
Seal it with polyurethane, varnish, or some other substance. Using a paintbrush, evenly coat the wood with the sealer.
Surface Drying:
Dry the area thoroughly after applying the sealant. It could take anything from twenty-four to forty-eight hours to dry.
Using Oil To Waterproof Outdoor Furniture
The woods can be made watertight with the help of linseed, walnut, or tung oil in this method. There is a long shelf life on these oils. These oils serve you well in many ways.
Make a call on the waterproofing oil you'd like to use. Although more costly, tung oil is ideal for your modest undertaking. Commercial products feature a mixture of tung oil and other oils. We can find walnut oil in supermarkets. DIY stores typically have linseed oil as a maintenance item.
Think about how much wood you'll need to treat. Then, calculate your oil requirements and make your purchases appropriately.
Make An Oil Mixture By Combining:
Add turpentine & vinegar from apples to a oil for a more durable finish on wood furniture. When combined, the chemicals produce a robust sealant that improves the wood's longevity.
Put some tung, linseed, or walnut oil, turpentine, and vinegar in a bowl, and mix it all together. Now, shake the hell out of all the ingredients.
Before Applying The Oil, Prepare The Wood As Follows:
Because the oil mixture may highlight wood flaws, the surface must be properly prepped before application. Go out your sandpaper and give the wood a good, thorough scraping.
First, Apply The First Coat:
Brush some oil onto the wood's surface after pouring a little amount of the oil mixture so over wood. Make sure you're using gloves during this process.
Dry Your Coat:
Use a dry cloth to wipe away any oil residue. Let the oil to soak into the surface and dry completely. It can need a whole day to dry. Then, scratch the area with steel wool.
Apply Two More Coats After The First One Has Dried:
The oil mixture must dry completely before it can be used. Use another coat, then wait for it to dry. The steps should be repeated. And now using steel wool to sand down the surface.
We recommend waiting a few weeks before using any wooden furniture.
How Do You Waterproof A Wooden Outdoor Table?
There is a good reason why wooden outdoor furniture is so popular. A wooden table looks equally at home in a verdant garden or on a compact patio. Outside timber buildings are particularly vulnerable to weather, especially when wet.
If you want your wooden table to last for many years, you need first make sure you use sturdy materials, and then you should waterproof it. But how does one ensure that their wooden outdoor table will not be damaged by rain or snow?
To some, the task at hand may appear to be insurmountable, yet this is not necessarily the case. This article will provide all the information you need to properly seal your wooden outdoor table to prevent it from being damaged by rain and snow.
The Importance Of Wood Waterproofing
It would be unfortunate to have to replace your beautiful wooden outdoor dining table before its time. Even if you take the time to seal your outdoor table, because rain will eventually cause wood to decay if you don't.
It's more than just a matter of decay. If you don't seal your outdoor table, it will be vulnerable to the sun's rays, moisture, frost, and even insects.
A wooden table's lifespan can be greatly increased by undergoing the waterproofing process. If done well, you can also prevent the wood from cracking or warping.
How To Waterproof Outdoor Wood
There are essentially two ways to safeguard an outdoor table from the elements. One option is by using a polyurethane sealant, which provides both shine and protection.
Varnish or lacquer are other good options because they can take the heat from the sun.
Natural oils like linseed oil, however, are one of the easiest and cheapest ways to completely waterproof your tables for outdoor use. Walnut oil and tung oil are two further alternatives. Linseed oil is widely available in both its raw and boiled forms at hardware and home improvement stores.
When it comes to wood furniture that will also be used to store food, it's best to go with raw linseed oil rather than relying on a drying agent made from boiling metal. Next, once you've decided on a coating, let's take a look at a step-by-step method on waterproofing a dining plank for outdoor use.
Make The Table
Make sure your wooden table is flawless by giving it plenty of attention. Afterwards, you can smooth out the table's surface by removing any pronounced imperfections with a metal file or even a piece or thick sandpaper.
Use some fine sandpaper to polish it once more. This will guarantee flawless and efficient absorption of whatever oil and finish you apply. Treat the wood after wiping it down with a dry cloth.
Put On The First Coat
Put some oil on a dry towel if you're using it. Oiling a hardwood table without first protecting it with a cloth is a common mistake.
This results in an instant lack of uniformity in oil distribution and, potentially, discoloration due to oil puddles just on table. When the cloth dries off, you can reapply oil and continue.
Allow It To Dry
Once you've waited at least a few minutes for your table to dry, you may wipe it down with a fresh cloth to remove any remaining oil. After that, you need to let the wooden table dry for at least 24 hours, maybe more depending on the weather.
It will take longer for natural oil to dry than a sealant, but persistence is rewarded. After the table has dried, scrape it with steel wool. The table should be wiped down with a dry, clean cloth before the final coat is applied.
Putting On The Second Coat
The second coat should be applied in the same way as the first. Depending on the state of the table and the wood's absorption rate, you may require a third or fourth coat.
The time it takes to apply the coating and allow it cure might add up to many days, if not weeks. But, this is the only way to ensure that your outdoor table remains dry over time. Nothing can be done quickly or easily.
The natural oil can be preserved by mixing it with either cider vinegar or turpentine. Combine everything in a metal bowl. The outdoor wood you finish with this combination will be more resilient.
Increasing The Life Of Your Outdoor Furniture
How can I ensure that my hardwood outdoor table will not get wet? The first step is to relax and take pleasure in the journey. It's gratifying to work with wood, especially when the end result will be a useful piece of furniture.
Waterproofing your table with a natural oil like oil paint or nut oils is an excellent way to shield it from the elements and keep it free of mould and insects. You can have a sturdy, watertight table for no time no matter which choice you go with.
Methods For Waterproofing Wood
Wood is the oldest and most well-liked construction material in the world, and it is also used to make some of the most beautiful furniture, cabinetry, & trim work. Yet, most wood may expand, warp, or even decay if left unprotected against the effects of moisture and high humidity. The good news is that it's not hard to get your hands on items that will both preserve the wood and improve its aesthetic value.
How To Make Wood Waterproof
There are three tried-and-true methods for protecting wood from the elements.
- Make a hand-rubbed finish that is both beautiful and durable with linseed or Tung oil.
- Apply a protective finish like polyurethane, varnish, and lacquer to the wood.
- Use a stain and sealer combination to accomplish both finishing and protecting the wood.
You should consider whether you're waterproofing an interior or exterior piece, as well as if the wood has a dark or light grain, before deciding on a procedure.
Method 1: Make A Hand-Rubbed Oil Finish
Most oil finishes are based on linseed oil, which comes from the flax plant's seeds, or tung oil, which comes from the Tung tree in China.
These oils have been used for generations to enhance and preserve the appearance of dark-grained woods like walnut & mahogany, and they are still widely employed today, albeit with some modifications. Oils can be used to speed drying periods and get rid of stickiness when blended with other components. Both Tung oil & linseed oil are available in pre-blended goods, or you can combine your own to create a unique sheen. One part oil (Tung or boiling linseed), one percent mineral spirits, and one part polyurethane make up a basic hand-rubbed oil combination.
Here is how you should use yours:
- Blend vigorously.
- Use a paintbrush made of natural bristles to apply the finish to the sanded and cleaned dark-grained wood. (Skip this procedure in favour of the next two if you're trying to waterproof wood that really is lighter in colour, like pine or ash; hand-rubbed oils tends to yellow over time.)
- You can reapply oil to any areas that look dry after the first application has soaked in.
- Rub the area down thoroughly with clean, dry towels to eliminate all traces of oil.
- Don't rush the drying process; take your time. Depending on how much oil is involved, this might take anything from a couple of hours to an entire night.
- Use fine-grit sandpaper to softly sand the surface.
- Use as many extra coats as necessary to achieve the desired effect.
Feel free to play around with the proportions as you gain experience using oil-rubbed mixtures. Thicker products can be achieved by using fewer mineral spirits. Reduce the amount more polyurethane if you need more time to work before the finish dries. For a shinier finish & quicker drying time, however, extra poly should be added. There are countless possible combinations that you can make!
It's important to remember that rags soaked in oil can catch fire even if they aren't near a flame, because the oil itself generates heat as it dries. Put safety first by keeping an bucket of water nearby; when an oily rag becomes soaked, toss it in the water and switch to a fresh one. Later, dry each load of rags independently. You can safely dispose of used rags once they have dried up, but you should never put them to further use.
Method 2: For Maximum Protection, Use Sealants
Traditional sealants such as polyurethane, varnish, & lacquer are all excellent choices for waterproofing. They are applied by brush or spray gun to freshly sanded wood, given time to cure, and then given a final light sanding and coating.
Applying a finish at "room temperature" yields the greatest results. Also, never shake or vigorously agitate sealants before applying them, since doing so might result in air bubbles that will stay on the surface after the sealant has dried.
Although these sealants dry quickly (as little more than 15 minutes), they frequently contain chemical solvents and hence require enough ventilation during application.
The advantages and disadvantages of the most common sealants are as follows:
- In contrast to acrylic or polyurethane resins, polyurethane sealants also include a wide variety of different solvents, allowing you to select your prefered finish effect, which can range from a highly reflective gloss to a more subdued, matte sheen. Modern polyurethane finishes won't turn wood's lighter shades yellow, making them an excellent choice. Brushes must be cleaned with natural solvents or turpentine after using oil-based polyurethane, however this provides the longest service life. Soap and water easily remove water-based polyurethane.
- Varnish is a protective coating made of resin, solvent, or drying oil that prevents scratches and discoloration. Marine varnish, that contains UV absorber to prevent sun damage, is the best choice for waterproofing wood used in outdoor settings. Spar varnish is great for indoor use on side tables and seating area because it prevents unsightly cup rings. Use oil or mineral spirits to clean paintbrushes.
- For wood furniture, the go-to sealant is lacquer, which is made by dissolving tree resin or polyester material in alcohol. On darker woods, lacquer gives out such a rich, warm, and distinctively scratch-resistant surface, whereas on lighter woods it might develop a yellow tinge that is regarded unsightly. You can get it in a number of different gloss levels, and you can dilute it with lacquer thinner if you need to. Lacquer should be applied in several thin coats for the best results. Working outside or with windows open and fans running is recommended when working with lacquer because to its powerful fumes.
Method 3: Use Stain-Sealant Combos Quickly
Use a high-quality stain-sealant combination when the clock is ticking or when protecting a sizable project, like a wood deck. These two-in-one products can be used to both dye and waterproof an item. Color pigments are combined with binders (oil, water, or alkyd) to create stain sealant products. The final product's transparency or opacity can be determined by the amount of pigment used. Stain sealers applied to outdoor wood need to be reapplied around once a year to maintain their protective properties.
With the exception of alkyd-based treatments, wood stains and sealants do not leave a film on the surface; rather, they soak into the wood and the surplus evaporates. Thus, alkyd stain-sealants are best used on interior wood objects like exposed beams or primitive furniture that won't need further applications because they leave a thin surface layer on the wood. Most outdoor alkyd stain-sealers will peel if indeed the wood isn't absolutely spotless and dry before they're applied.
Conclusion
Waterproofing Painted Furniture For Outdoor Use is the quickest, most hassle-free method of making it weatherproof for usage in the great outdoors, and it improves the wood's appearance by giving it a glossy sheen and transforming the grain pattern. How to waterproof a wooden outdoor table by combining tung, linseed, or walnut oil, turpentine, and vinegar, sanding down the surface, and waiting a few weeks before using it. Wood waterproofing is essential to prevent damage from rain and snow, and can extend the lifespan of wooden tables. It involves using a polyurethane sealant, natural oils like linseed oil, and a step-by-step method. Waterproofing a hardwood outdoor table with a natural oil is an excellent way to shield it from the elements and keep it free of mould and insects, but it can take time and patience.
Wood can be waterproofed with linseed or Tung oil, polyurethane, varnish, and lacquer, or a stain and sealer combination. Oil-rubbed mixtures can be used to waterproof dark-grained wood, but it is important to remember that rags soaked in oil can catch fire even if they aren't near a flame, so it is best to keep an bucket of water nearby and dry each load of rags independently. Lacquer is the go-to sealant for wood furniture, providing a rich, warm, and distinctively scratch-resistant surface. Lacquer should be applied in thin coats for best results, and alkyd stain-sealants should be reapplied once a year to maintain protective properties.
Content Summary
- Making the exterior as watertight as possible to prevent water damage doesn't need much time or effort.
- Waterproofing Painted Wood Outdoor FurnitureWooden furniture is prone to rotting and breaking if it is not treated to be water resistant.
- Applying a sealant is the quickest, most hassle-free method of making your furniture weatherproof for usage in the great outdoors.
- This will lengthen the life of your furniture.
- Using a paintbrush, evenly coat the wood with the sealer.
- Put some tung, linseed, or walnut oil, turpentine, and vinegar in a bowl, and mix it all together.
- Let the oil to soak into the surface and dry completely.
- This article will provide all the information you need to properly seal your wooden outdoor table to prevent it from being damaged by rain and snow.
- Even if you take the time to seal your outdoor table, because rain will eventually cause wood to decay if you don't.
- Next, once you've decided on a coating, let's take a look at a step-by-step method on waterproofing a dining plank for outdoor use.
- Make The TableMake sure your wooden table is flawless by giving it plenty of attention.
- Once you've waited at least a few minutes for your table to dry, you may wipe it down with a fresh cloth to remove any remaining oil.
- After that, you need to let the wooden table dry for at least 24 hours, maybe more depending on the weather.
- It will take longer for natural oil to dry than a sealant, but persistence is rewarded.
- After the table has dried, scrape it with steel wool.
- The table should be wiped down with a dry, clean cloth before the final coat is applied.
- Depending on the state of the table and the wood's absorption rate, you may require a third or fourth coat.
- But, this is the only way to ensure that your outdoor table remains dry over time.
- Waterproofing your table with a natural oil like oil paint or nut oils is an excellent way to shield it from the elements and keep it free of mould and insects.
- The good news is that it's not hard to get your hands on items that will both preserve the wood and improve its aesthetic value.
- There are three tried-and-true methods for protecting wood from the elements.
- Make a hand-rubbed finish that is both beautiful and durable with linseed or Tung oil.
- Apply a protective finish like polyurethane, varnish, and lacquer to the wood.
- Use a stain and sealer combination to accomplish both finishing and protecting the wood.
- Method 1: Make A Hand-Rubbed Oil FinishMost oil finishes are based on linseed oil, which comes from the flax plant's seeds, or tung oil, which comes from the Tung tree in China.
- Use a paintbrush made of natural bristles to apply the finish to the sanded and cleaned dark-grained wood. (
- Feel free to play around with the proportions as you gain experience using oil-rubbed mixtures.
- Later, dry each load of rags independently.
- Soap and water easily remove water-based polyurethane.
- Use oil or mineral spirits to clean paintbrushes.
- For wood furniture, the go-to sealant is lacquer, which is made by dissolving tree resin or polyester material in alcohol.
- Lacquer should be applied in several thin coats for the best results.
- Working outside or with windows open and fans running is recommended when working with lacquer because to its powerful fumes.
- Use a high-quality stain-sealant combination when the clock is ticking or when protecting a sizable project, like a wood deck.
- Color pigments are combined with binders (oil, water, or alkyd) to create stain sealant products.
- Stain sealers applied to outdoor wood need to be reapplied around once a year to maintain their protective properties.